

How to install an Auto Doffing Robot?
Sep 15, 2026
Leave a message
Hey there! I'm an industry insider and represent a supplier of Auto Doffing Robots. Today, I'm going to walk you through the process of installing an Auto Doffing Robot. Trust me, getting this cool piece of tech up and running might seem a bit daunting at first, but it's actually pretty straightforward once you know the steps.
Pre - installation Checks
Before you even think about unpacking that shiny new Auto Doffing Robot, there are a few things you gotta check. First off, make sure the site where you plan to install the robot is suitable. You need a flat and stable floor. Any unevenness can cause the robot to move around unevenly during operation, which could lead to problems when it comes to doffing.
The installation area should also have enough space. The Auto Doffing Robot needs room to maneuver without bumping into other equipment or obstacles. Measure the area and compare it with the robot's dimensions and the required clearance specified in the manual.
Next, check the power supply. The robot requires a stable and appropriate power source. You don't want any voltage fluctuations that could damage the robot's sensitive electronic components. Ensure that the electrical sockets are in good condition and can handle the power requirements of the Auto Doffing Robot.
You'll also want to gather all the necessary tools for installation. Usually, you'll need basic tools like screwdrivers, wrenches, and maybe a level to make sure everything is installed correctly.
Unpacking and Assembly
Once you've completed the pre - installation checks, it's time to unpack the Auto Doffing Robot. Carefully open the packaging and take out all the components. Check to make sure there are no visible damages during transportation. If you find any, contact our support team right away, and we'll help you sort it out.
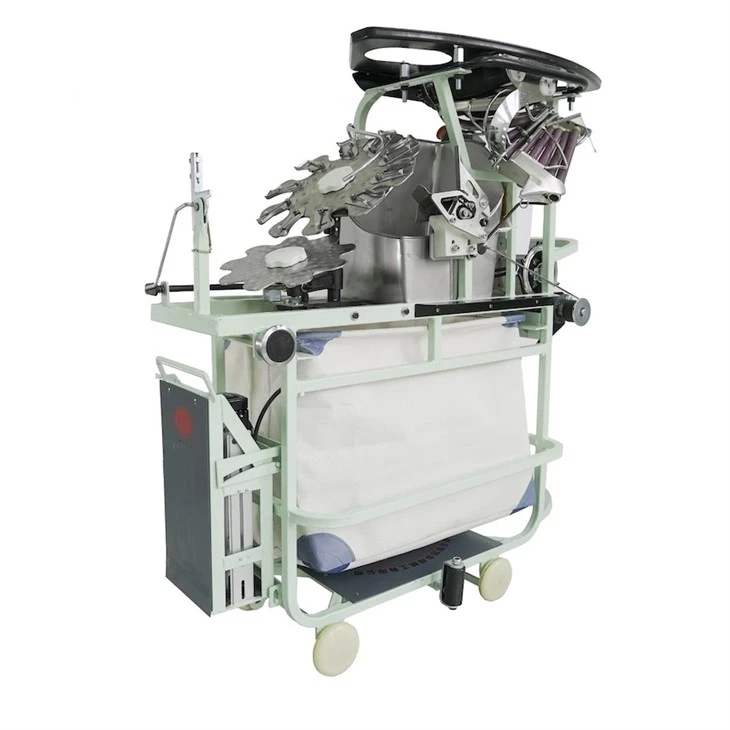
Start the assembly process by referring to the instruction manual. The manual is your best friend here. It'll tell you exactly how to connect the different parts of the robot. Typically, you'll start with the base of the robot. Secure it firmly to the floor using the appropriate fasteners. This step is crucial because a loose base can cause the robot to be unstable during operation.
After the base is in place, start attaching the arm of the Auto Doffing Robot. Make sure all the joints are properly aligned and tightened. You don't want any loose joints as they can affect the robot's accuracy when it comes to doffing bobbins. Check each connection point and use the torque specifications provided in the manual to ensure the right amount of tightness.
Electrical and Software Setup
Once the physical assembly is done, it's time to move on to the electrical setup. Connect the robot to the power source as per the instructions. Be very careful when handling electrical connections to avoid any short - circuits.
Now for the software part. The Auto Doffing Robot is controlled by specialized software. You'll need to install this software on a compatible computer. The software setup usually involves a few steps, like entering the product key and following the on - screen instructions. Make sure your computer meets the system requirements specified in the manual.
After the software is installed, you'll need to connect the robot to the computer. This can be done via a network cable or wirelessly, depending on the model. Once the connection is established, you can start configuring the software. You'll need to set up parameters like the doffing speed, the type of bobbins to be doffed, and the working area of the robot.
Calibration
Calibration is a vital step in the installation process. It ensures that the Auto Doffing Robot can perform its tasks accurately. First, you'll need to calibrate the position sensors of the robot. This involves moving the robot's arm to specific reference points and letting the software record the positions.
Next, calibrate the gripper of the robot. The gripper needs to be set to the right pressure to pick up and release the bobbins without damaging them. You can do this by testing the gripper with a few sample bobbins and adjusting the pressure settings in the software.
Testing
Once the calibration is done, it's time for some testing. Start with small - scale tests. Let the robot doff a few bobbins and observe its performance. Check if the robot is picking up the bobbins correctly and placing them in the right location.
If you notice any issues during the testing, don't panic. First, refer back to the instruction manual. It usually has a troubleshooting section that can help you identify and fix common problems. If you still can't solve the issue, reach out to our support team, and we'll assist you.
Maintenance Considerations
After a successful installation and testing, it's important to think about maintenance. Regular maintenance will keep your Auto Doffing Robot running smoothly for a long time. You should clean the robot regularly to remove any dust or debris that could affect its performance.
Lubricate the moving parts as recommended in the manual. This will reduce friction and wear and tear. Also, check the electrical connections periodically to make sure there are no loose wires or signs of damage.
Mobile Doffing Robots
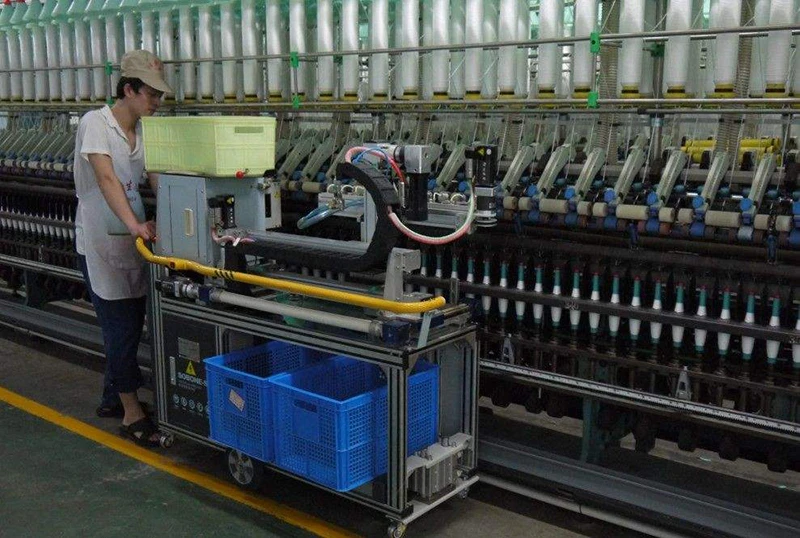
If you're looking for more flexibility, we also offer Mobile Doffing Robots. The installation process for these is a bit different. They come with built - in mobility features, so you don't have to worry about permanently fixing them to the floor. However, you still need to ensure a stable operating surface. The same principles of pre - installation checks, assembly, electrical setup, calibration, and testing apply to Mobile Doffing Robots as well.
Final Thoughts and Contact
Installing an Auto Doffing Robot might seem like a big task, but with a bit of patience and following the steps, you'll have it up and running in no time. These robots can significantly improve the efficiency of your doffing process, saving you time and money in the long run.
If you're interested in purchasing an Auto Doffing Robot or the more flexible Mobile Doffing Robot, don't hesitate to reach out. Our team is ready to answer all your questions and assist you with the procurement process. Whether you need more information about the installation, features, or pricing, we're here for you. Start the conversation with us today and take your doffing operations to the next level!
References
- Manufacturer's Instruction Manual for Auto Doffing Robots
- Technical Specifications Document for Auto Doffing Robots
Send Inquiry